Reproducing your own plants from “cuttings” provides control over the supply and quality of “seedlings”. It also enables you to replicate your favourite ‘strain’.
This helps to prevent diseases. Use either fresh, reverse osmosis water (ideal), or fresh treated tap water. The water should be tepid, around 20 °C (68 °F).
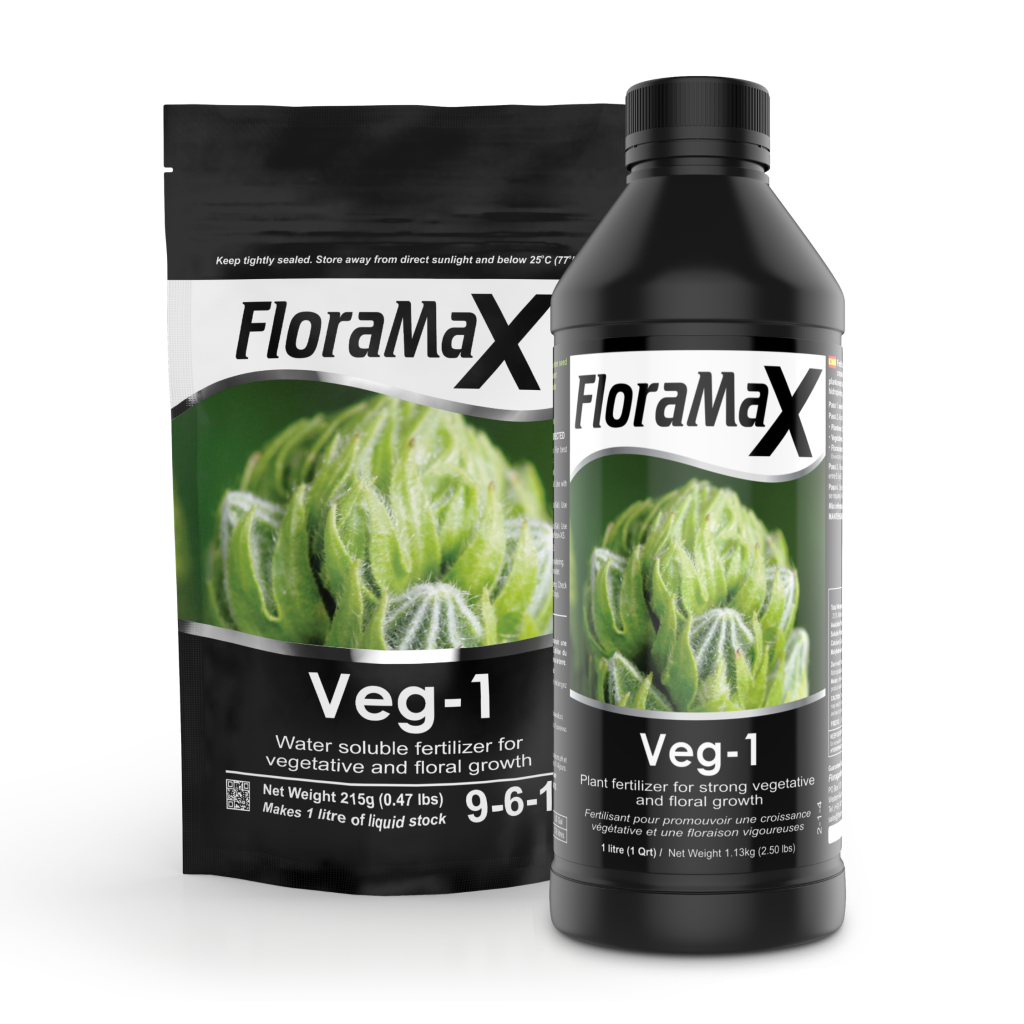
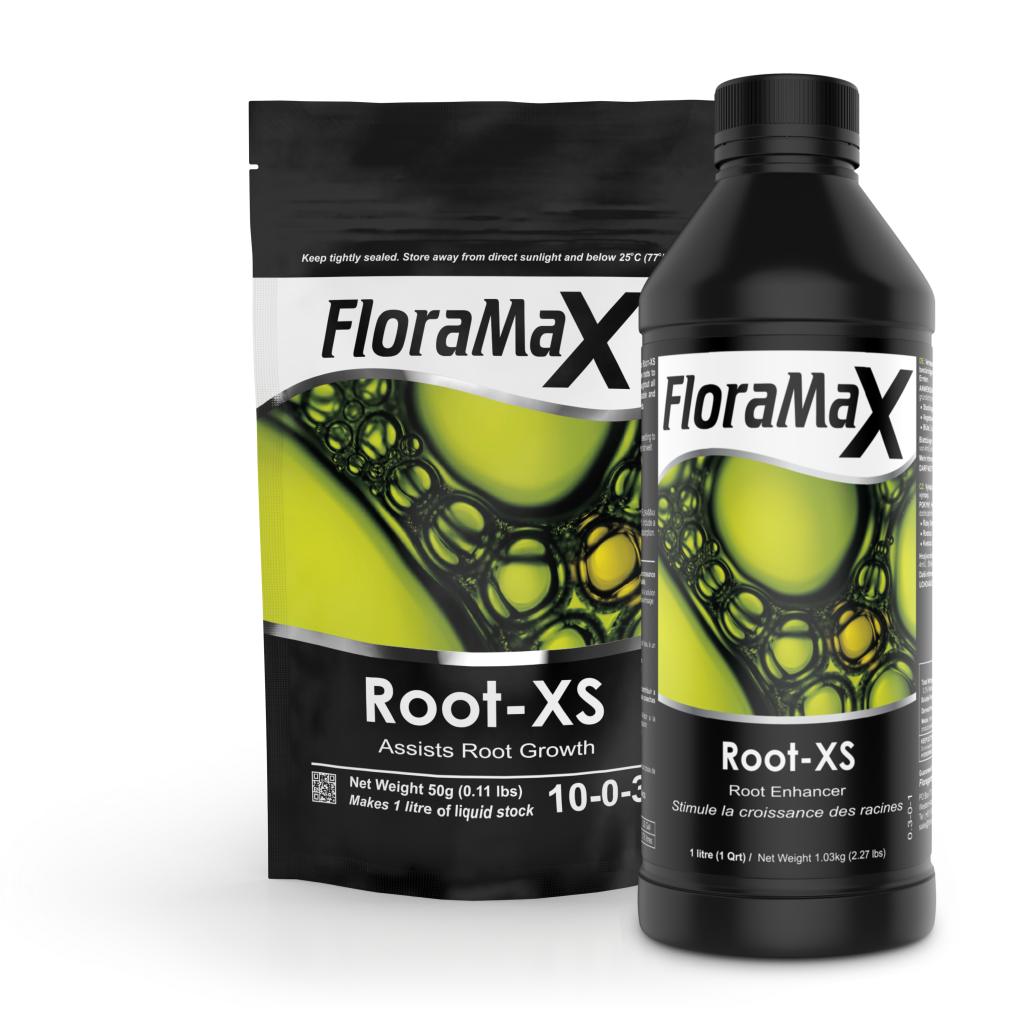
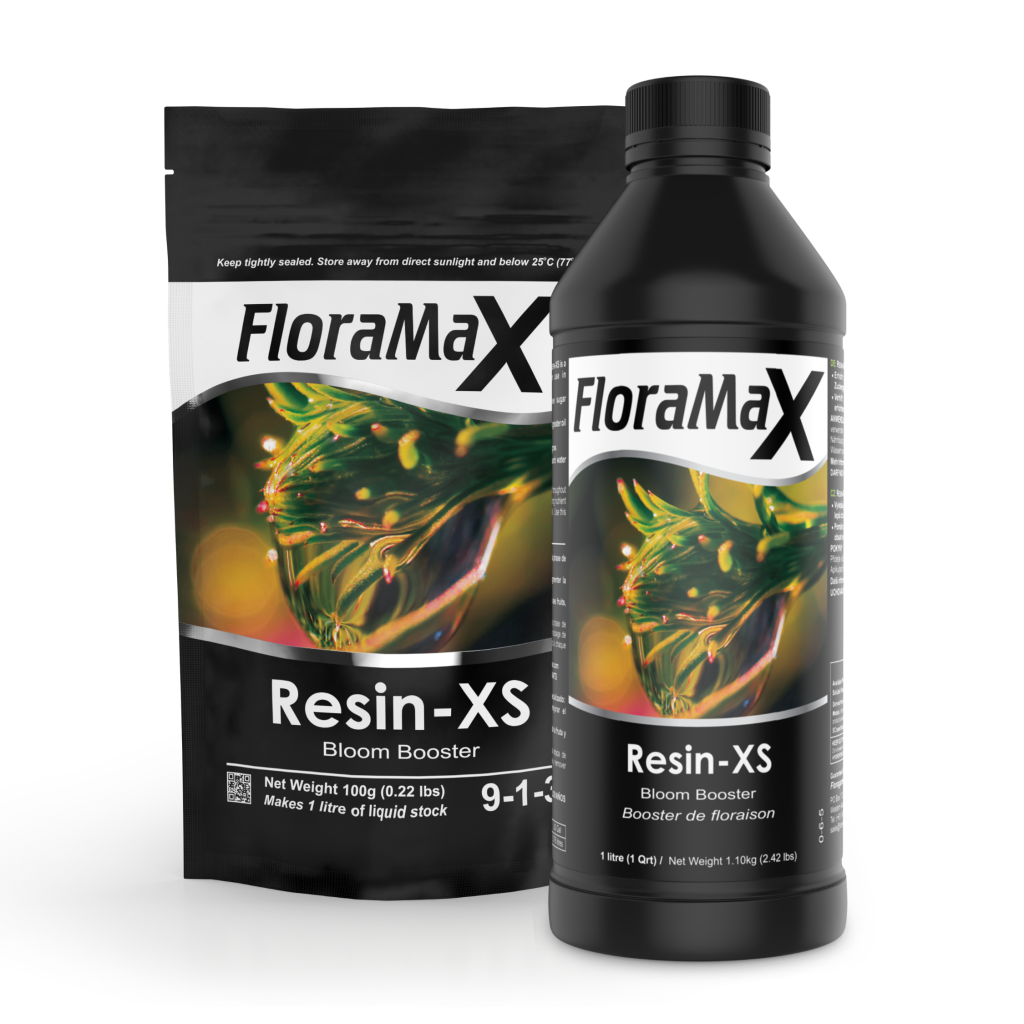
Refer to ‘Cuttings’ phase on the FloraMax Dose Chart. FloraMax Root-XS will promote vigorous and healthy roots. Ensure the nutrient solution’s pH is between 5.5 and 6.5.
3. Add Substrate to Pots and Water Thoroughly with the Nutrient Solution
Allow to drain well and discard any run-off. TIP: To prevent diseases, ensure all hardware has been thoroughly cleaned with FloraMax Pythoff PLUS prior to commencing.
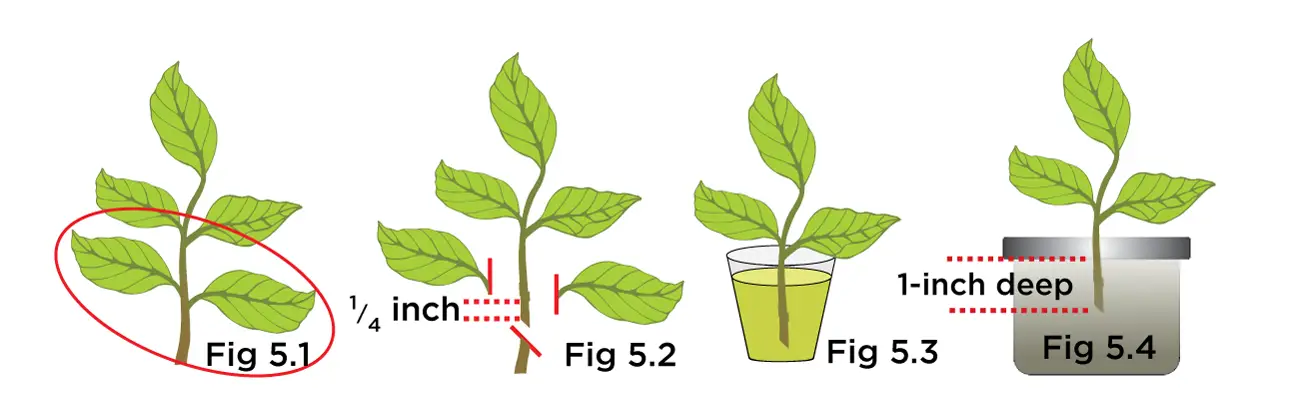
Fig 5.1 Cuttings need “spare” leaves at the base. Fig 5.2 Where to cut Fig 5.3 Dip cutting in FloraMax Cloner Fig 5.4 Insert base of cutting into substrate
4. Take Cuttings from a Healthy Mother Plant
Select a healthy mother plant that is not flowering and has no visible diseases or pest infestations.
TIP: FloraMax veg-wk-2 schedule is ideal for mums. Growth-XS will radically improve the amount of cutting material.
Step 1. Take cuttings from “semi-hard” material. Ideal length is 3 – 5 inches with two spare leaves at the base for removal during Step 2 (Fig 5.1). When these lower leaves are removed (in Step 5.2) this region offers greater rooting potential when placed into substrate.
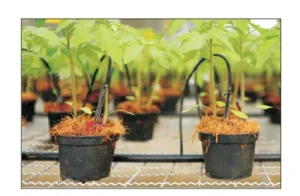
FloraMax Clone Spray produces explosive root growth in cuttings. Photo credit – P.B. Detroit Michigan
Step 2. Remove lower set of leaves flush with stem (Fig 5.2). Then about 1/4 inch below this, cut through the stem on a 45-degree angle. Use a sharp and sterile blade and do not tear or crush the stem.
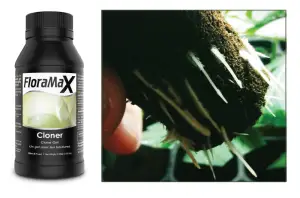
Step 3. Dip 1-inch of base of cutting into FloraMax Cloner (Fig 5.3). Then gently insert stem about 1-inch deep into a slightly undersized hole in the centre of the pot (Fig 5.4). Do these steps quickly to minimize stress on the cutting.
Fig 5.5 Propagation units help improve the speed of cuttings.
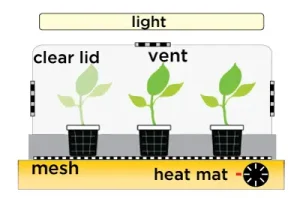
5. Place a Clear Propagator Lid Over the Cuttings and Close Vents
Relative humidity should be maintained about 90% (open vents slightly if required). To promote root growth and combat wilting, spray 1-3 times per day with a solution of FloraMax Clone Spray. Avoid pools of liquid at the bottom of the propagator – propagation media should never be allowed to sit in water.
8. Place Under Low Intensity Fluoro or LED Light
Leave on for 24 hours a day. Monitor temperature inside the propagator. Aim for 75-80 deg F (24-27 deg C). Use a ‘heat mat’ if temperatures are too cold.
6. Check Cuttings Regularly
Once roots form (typically 5 – 10 days) the substrate needs to be fed more regularly with nutrient solution. Note how heavy plants feel once fed and do not refeed if they still feel heavy.
TIP: Top-feeding can fail to feed the entire root zone. Full immersion of the pots can be more effective.
7. Humidity and Disease
Vents can be gradually opened over a few days once roots have formed. This will help prevent diseases and prepare the freshly rooted cuttings for lower humidity. Also, keep hard surfaces clean and dry, remove any dead plant matter and always use Pythoff PLUS.
Fig 6.1 Use mesh to ventilate and ‘air prune’ cuttings.
8. Air-Pruning
Placing the pots on “mesh” to raise them slightly off the bottom of the tray, kills any roots that try to grow outside of the pot. This promotes a denser root structure within the actual substrate (Fig 6.1).